Wednesday, February 27, 2013

Winter Pinterest Challenge: Darn You Mother Nature!!

So, today is the day! I am Linking up to the Pinterest Challenge with Megan (The Remodeled Life)Katie (Bower Power)Sherry (Young House Love) and Michelle (Decor and the Dog). The general idea is that I, and all their followers, were supposed to finish our Pinterest Challenge and show all of you how easy it was to complete something on our project boards... mine was going to be this new big boy bed for Corin.


I found this twin Jenny Lind bed for under $100 and it was going to be Navy Blue and I was going to do this whole project Monday and Tuesday with pictures today for you! And then this happened...


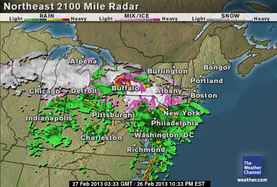
The entire state has been covered since Monday in rain, ice, and snow...in that order, every day. SIGH... unfortunately this kind of weather is not conducive to priming and painting a twin bed in your driveway and the below 40 degree temperature kept me out of the garage too. Stupid paint with its temperature and humidity needs...

So being the DIY doer I am I wasn't defeated, just momentarily depressed and eating a brick of dark chocolate when I remembered I have a bunch of this idea pinned to my "Do It Myself Projects" board...


I love these framed heart maps! This one is by Elizabeth from DIY Theory and I just happened to have all this stuff randomly around the house ready to go for a back up Pinterest Challenge!!


The framed letter is from Corin's old Alphabet mural we took down to paint the dinosaurs here, The rest was some wallpaper I picked up months ago at Lowe's for $3 a roll and an old travel atlas I don't need anymore. So first I pried off the back and cleaned up the glue edges of the frame.


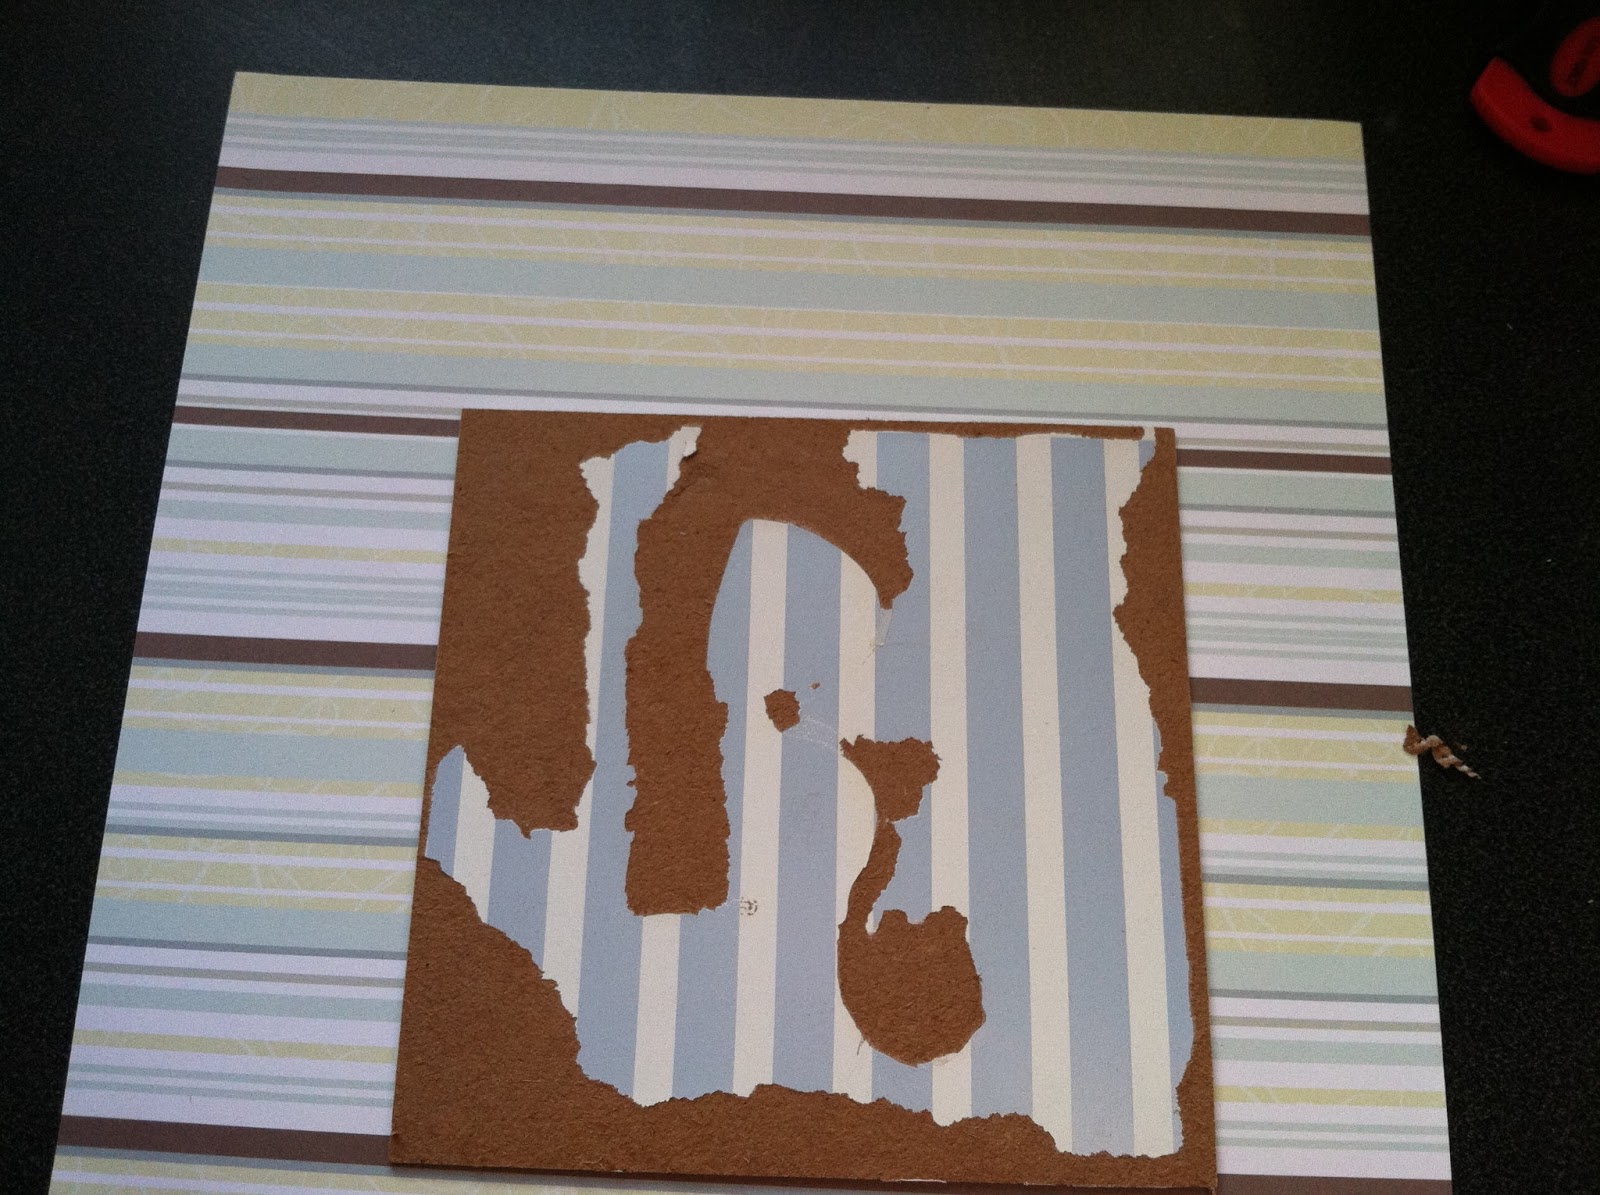
Next I pulled of the letter from the back and scraped the paper off the board so I'd have a clean surface to attach the new paper...


Then I put the board on the paper and traced it. You'll notice that the paper changed, I didn't like the wall paper for the kitchen so I grabbed this stripe scrap book paper instead. After the paper was cut out I used double sided tape and stuck it to the board.


Once the paper was taped down it was time to make map hearts. I put a heart cookie cutter over the city i wanted, traced, and cut it out...


I aligned the three hearts and wrote underneath them...


I also drew a little heart around the actual city just to point it out...
      Bloomington, IN is where we met
     Montpelier, VT is where we married
     Columbus, IN is where we started our family


I added a little hanger to the back and Viola!! A little heart map for my sweetie and me...


It's not a bed, but it  means more to us... and was so quick Corin barely found out in time to "help."


Tuesday, February 26, 2013

Flashback: Kitchen Reno Part 1

We bought 730 back in 2008, two months after our wedding while we were taking a side street to get back home. I've always been a fan of driving random downtown roads to look at houses and see if there are any lost gems forgotten by time and slum lords. On this particular day we were looking through our favorite furniture thrift shop, Good Used Furniture, and instead of going straight to the main road I said lets go down this one...two block later we found this little guy and we instantly fell in love. We had been going back and forth about calling a Realtor and "officially looking" for a new place, our student housing apartments were just not cutting it for me anymore. We did end up calling that Realtor, but it was to make an offer...we looked at one other house, but when you know you know.


However, for all its charms...all new plumbing and twice as much space as the apartment...the kitchen was severely lacking in cabinets, appliances, everything.


The old kitchen came out so quickly that we don't even have a picture of it as it was on the purchase day. I think my dad said he'd gift us new cabinets as a house warming present and while he meant "add to what you have" I heard "kitchen renovation" (I am without a doubt his biological daughter) and out it came...they put up a good fight though with all the stripped screws.


So we already knew that there was two inches of kitchen flooring from the past 80 years. There was the new vinyl, 3 layers of old vinyl, sub flooring that someone nailed down with ring shank nails every 2 inches (that was a joy), then we got to the good stuff! Felt back linoleum from the 1930's that they tared to the pine hardwood flooring...


My dad and Ryan took a circular saw set at 1 inch and cut 18 inch strips across the room. Then we got a couple crow bars and ripped those suckers out...like I said early ring shank nails... you can also see in the above photo that I had started scraping wall paper. They had painted around the cabinets so all 5 layers behind them were peeling off and it was easier to just take it off. The bottom layer was barely holding on so it was easy.


So like all high quality glues from the 1930's it didn't want to come off the floor, or the walls. The floor glue was black and fossilized with felt attached to it and made us get on our knees with flat razors to get it relinquish its' hold. The wall paste was easier, just some warm water in a spray bottle and a straight razor.

Our lovely pile from the floor glue...from half the room
 To add more time learning experience to the reno I found these four gems behind a weird soffet/box thing that was to low to fit a standard refrigerator under. It was obviously built to hide the holes instead of just patching them like a normal person...


Number four hole was a surprise because it had a layer of wallpaper over it...it reeked of old coal and was DIRTY, oh my word. All we can think is that this alcove held the old coal stove when the house was built in 1934. The chimney runs to the basement where the coal radiator furnace was and has a cleaning shoot...gross.

A little plastering and some Valspar Primer, from Lowe's, and the space was looking like it might turn out all right...


 The next phase was getting that floor sanded and sealed...


Saturday, February 23, 2013

Challenge Accepted!


Now that I am blogging with the rest of the DIY world I get to participate in awesome challenges like this! so here's the scoop...the idea is to hold everyone accountable to all the things we pin on Pinterest and actually get something done off it, how about that? The only rule is that you have to credit your project back to the original post of that idea with a link. Other than that it can be anything from food, clothes (I'm talking to you Lora!?), DIY, etc. The world is your oyster challenge!!

This event is hosted by a few ladies that run some really great blogs and motivated me to start one myself.

Please meet the co hosts of this shindig:


Megan runs a blog called The Remodeled Life
Katie lives down in Atlanta and runs Bower Power
Sherry is from my all time FAV place on the internet Young House Love
And fellow blogspotter Michelle from Decor and the Dog

So, what am I going to do?? Well I drove all over kingdom come last weekend looking for a "big boy bed" for Corin. Cribs are so three years ago, right? Here's what I was thinking...


This is a Jenny Lind bed from Land of Nod...and it is a whopping $649, and like way WAY outside my budget. So I found this gem at a new store in Franklin called Vintage Whimsy. It may be my new favorite place with it's cheap antiques, jewelry, and trinkets...

sorry for the blur...stupid bright sun

They were a little pricey at $175, but you got two beds (sell the other and get some $$ back?) and they were this great chalk paint green. However, I walked away for a couple hours to see what else I might find at the other local shops and when I went back they were gone!! GONE!! Ugh, I died a little at my stupidity at not grabbing them and stuffing them in the trunk. Oh well, I wasn't meant to have them because I was meant to find this!! He was literally a block away from my house and waiting patiently for me to walk through the door and fall in love...

this picture is equally as awful...my iphone was obviously not in the mood

I got this brown beauty for $90 with wooden bed rails, everyone else including the green came with metal. So he is all mine Corins, and also my Pinterest Challenge!! He needs a little jazzing up and the completion date is set for February 27th, I better get on that...


Friday, February 22, 2013

Loving your tiny bathroom

In Other News: Just wanted to give a heads up on why I've been gone all week. My father in law is in the hospital on life support and all my free time has been there. I tried posting from the hospital, but couldn't concentrate. Anyway, I'm back!!

I have one bathroom in my house for three of us and it is SMALL, like 5 ft by 8 ft including the tub. Its singularity and size don't cause problems yet, I guess we'll see in a few more years when my son is older and has discovered 45 minute showers...but we aren't there yet.

So I don't have an original picture of the bathroom, but I can tell you that we scored on it even though it was uber dull. The previous owner was a plumber and we got a whole new bathroom and plumbing in the house. Can we say SCORE?? Unfortunately they painted the bathroom the same beige as the rest of the house and put down this cheap vinyl that looked dirty brand new. We did have a brand new pedestal sink, matching toilet, and a deep fiberglass tub and surround so I can't complain. All we needed was a little painting, some storage, new vinyl tiles and VIOLA a bathroom to enjoy being in!


This is as original a photo as I could find. (Please excuse the butt shot and open toilet seat) We tore out the dirty looking vinyl sheet and scraped and sanded the floor. There is a paint/sealer that you can use to prep the floor, but we thought the floor was fine after a light sanding to get the glue up. We didn't have the budget for tile, but Lowe's has a really good selection of sticky tiles and we found a brown cork print that looked great and it only cost us $30 for the entire floor, which ended up being a $1 per tile.


When everything was cleaned up we found the center of the door frame, snapped a chalk line perpendicular to the threshold and installed a line of tile up to the tub. We did all the whole tiles first and then measured and cut in the edges. We did end up pulling the toilet and sink to get under them. I really don't like a tile line around fixtures and it's not that hard or time consuming.


Cool trick about the tiles!! Put a whole tile against the wall, the one you want to cut to fit the edge. Then place another whole tile on top of the tile already stuck down and mark where they overlap. Cut it and put the cut edge against the wall. Super quick measuring and installation!

Next on our list was wall covering. We went with a green bathroom and kitchen paint by Olympic, found at Lowe's, called Crocodile Tears in Semi Gloss. I only do the gloss in bathrooms, because it's easier to wipe down if it gets dirty. I also found some old pine bead board in my parents shed from a house in MI they restored. It had been sitting in there for 15 years and there was just enough for wainscoting a 5x8 bathroom. 


I literally had just enough for what I needed and of course every board was a different size. The shortest length I had was 42 inches and so everything got cut down to that. I would have loved to go another foot higher, but alas it wasn't meant to be. However, I can't complain because these were free and that makes for the best kind of project!


We gave everything a light sanding and primed them with BIN. They had this red colored shellac on them that would have bled right through the white paint. The BIN sealed that up and blocked any stains from showing through. I thought about painting them before installation, but decided that it might be hard to get the tongue and groove together with all that paint on it. So up it went with just the primer.


Everything got topped with a 1x2 and a 1/4 inch piece of cove molding. Since this was the bathroom I ran a bead of paintable silicone caulk along the edges to keep moisture out.


Everything got a bead of liquid nail glue on the back to hold it up and I used a finishing nail gun for the top rail, the first board, last board, and the board that landed on the stud in the wall. Then everything got one more coat of Valspar Primer because I wanted the Valspar White gloss paint going on to really look really white.


When I was done...


Instead of having just a small bathroom...


I had a cozy small bathroom...


Saturday, February 16, 2013

Shoes need accessories too

We have a pile of shoes by the front door that gets so out of control it's hard to get in the house sometimes...well maybe not that bad, but after tripping over my husbands' size 12 boots for the millionth time it feels that way. This year we had a snowy winter so the addition of wet boots and a plastic tray for them to drip on really pushed me over the edge and I decided something had to be done.

Over the course of a week we went from this...


To this...


I started with a tape measure and a drawing that looked something like this. I knew that it was going to go behind the front door so it couldn't stick out further then the trim, but that meant it was going to have shelves under 9 inches because of the baseboard. That was fine for Corin's and my shoes, but there was no way Ryan's monsters would fit on that. To get a wider shelf I decided to make the baseboard the support for the back, which gave me another inch and the ability to have a 10 inch shelf. This worked A LOT better for everyone.


From here I took a trip to Lowe's lumber department and bought 6-1x12 pine boards at 4 feet each. You can purchase an 8 foot board if you want to save some money ($4 a board), but I'm all about the convenience of handling something shorter then me while also juggling a toddler, purse, and a blue cart. I also bought a  3x4 foot piece of wainscot hardboard paneling for the back.

 This is how I cut them down...


The two sides were cut down to 10" wide and 29-1/2" long. Remember that boards are not a true whole number, a 1 x 12 is actually a 1/2 x 11-1/2, so I had to take 1/2" off each sides length to get the 30" height I needed the entire shelf to be once I added the top.

The bottom shelf was cut to 10" wide and 45" long. I had to subtract 1" from the length to account for the 1/2" side panels. The middle two shelves were cut to 9.75" wide and 45" long. Thee middle two were a smaller width to take into account the panel, that I recessed in the back, so they would be flush against it.
The top piece was cut to 9" wide and 46" long. I kept the top the length of the entire cabinet, because I wanted it to cover the top edges of the side panels.

The piece of paneling was cut to 29.5" high and 45.5" wide. I routed a 1/4" ledge into the back of the top, bottom, and side pieces to hide the edge of the panel and so that the back would be flush to the shelves.

Next I put some pocket screws in each each board to put them all together. This is a nice trick because the screw goes in at an angle and the head is hidden. They all got a quick sand with 220 grit and a 400 grit to take the roughness off. I was originally going to paint the whole thing white, but once they were sanded the wood was so pretty I couldn't bring myself to do it. I had a can of Mission Oak polyshade by Minwax in satin. It's great, because you slap a couple of coats on with a foam brush and it's stained and sealed at the same time! I did do a light sanding with fine steel wool in between coats so I didn't get bubbles. Make sure that you really wipe up the steel dust or you'll have a lot of debris in the final coat.


I put a little bead of wood glue on the edges that came together and screwed it all together.The panel was attached with finishing nails and then I attached the two Waddell 5-1/2-in Mixed Round Taper Traditional Wood Table Legs from Lowe's using two Waddell 3-in Table Leg Straight Top Plates for support. I was able to get away with only one coat of stain on the legs. They didn't seem to soak it up like the pin boards.

Total cost for parts: $73.70 before tax
Breakdown:
6,1x12x4 white pine boards        $38.34
1, 3x4 hardboard wainscot         $10.00
2, 5-1/2" legs                             $4.96
2, 3" top plates                           $3.36
1 quart Mission Oak polyshade  $12.87 (free for me)

You'll obviously need some nails, glue, and tools to put this together but for roughly $75 you can build a custom solid wood shelf that looks great and that you can feel proud of!