I have one bathroom in my house for three of us and it is SMALL, like 5 ft by 8 ft including the tub. Its singularity and size don't cause problems yet, I guess we'll see in a few more years when my son is older and has discovered 45 minute showers...but we aren't there yet.
So I don't have an original picture of the bathroom, but I can tell you that we scored on it even though it was uber dull. The previous owner was a plumber and we got a whole new bathroom and plumbing in the house. Can we say SCORE?? Unfortunately they painted the bathroom the same beige as the rest of the house and put down this cheap vinyl that looked dirty brand new. We did have a brand new pedestal sink, matching toilet, and a deep fiberglass tub and surround so I can't complain. All we needed was a little painting, some storage, new vinyl tiles and VIOLA a bathroom to enjoy being in!

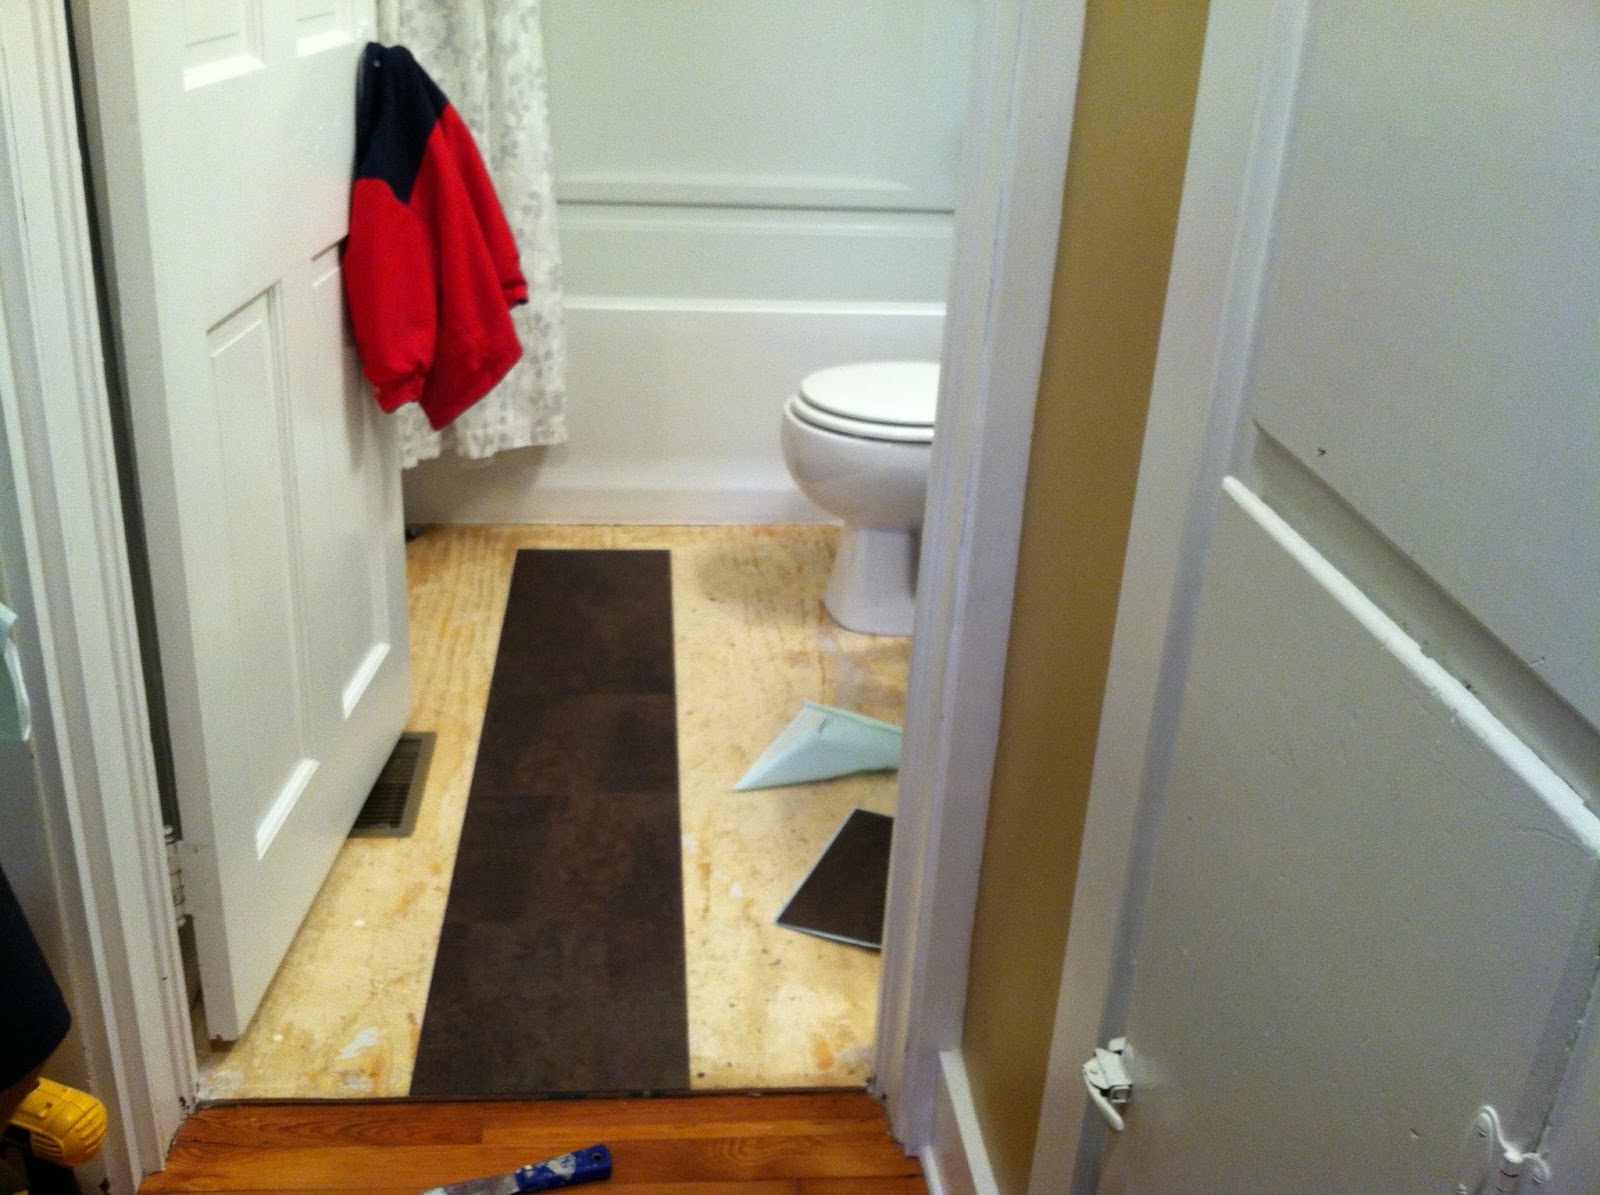
This is as original a photo as I could find. (Please excuse the butt shot and open toilet seat) We tore out the dirty looking vinyl sheet and scraped and sanded the floor. There is a paint/sealer that you can use to prep the floor, but we thought the floor was fine after a light sanding to get the glue up. We didn't have the budget for tile, but Lowe's has a really good selection of sticky tiles and we found a brown cork print that looked great and it only cost us $30 for the entire floor, which ended up being a $1 per tile.

When everything was cleaned up we found the center of the door frame, snapped a chalk line perpendicular to the threshold and installed a line of tile up to the tub. We did all the whole tiles first and then measured and cut in the edges. We did end up pulling the toilet and sink to get under them. I really don't like a tile line around fixtures and it's not that hard or time consuming.

Cool trick about the tiles!! Put a whole tile against the wall, the one you want to cut to fit the edge. Then place another whole tile on top of the tile already stuck down and mark where they overlap. Cut it and put the cut edge against the wall. Super quick measuring and installation!
Next on our list was wall covering. We went with a green bathroom and kitchen paint by Olympic, found at Lowe's, called Crocodile Tears in Semi Gloss. I only do the gloss in bathrooms, because it's easier to wipe down if it gets dirty. I also found some old pine bead board in my parents shed from a house in MI they restored. It had been sitting in there for 15 years and there was just enough for wainscoting a 5x8 bathroom.

I literally had just enough for what I needed and of course every board was a different size. The shortest length I had was 42 inches and so everything got cut down to that. I would have loved to go another foot higher, but alas it wasn't meant to be. However, I can't complain because these were free and that makes for the best kind of project!

We gave everything a light sanding and primed them with BIN. They had this red colored shellac on them that would have bled right through the white paint. The BIN sealed that up and blocked any stains from showing through. I thought about painting them before installation, but decided that it might be hard to get the tongue and groove together with all that paint on it. So up it went with just the primer.

Everything got topped with a 1x2 and a 1/4 inch piece of cove molding. Since this was the bathroom I ran a bead of paintable silicone caulk along the edges to keep moisture out.

Everything got a bead of liquid nail glue on the back to hold it up and I used a finishing nail gun for the top rail, the first board, last board, and the board that landed on the stud in the wall. Then everything got one more coat of Valspar Primer because I wanted the Valspar White gloss paint going on to really look really white.

When I was done...

Instead of having just a small bathroom...

I had a cozy small bathroom...


No comments:
Post a Comment