Over the course of a week we went from this...

To this...

I started with a tape measure and a drawing that looked something like this. I knew that it was going to go behind the front door so it couldn't stick out further then the trim, but that meant it was going to have shelves under 9 inches because of the baseboard. That was fine for Corin's and my shoes, but there was no way Ryan's monsters would fit on that. To get a wider shelf I decided to make the baseboard the support for the back, which gave me another inch and the ability to have a 10 inch shelf. This worked A LOT better for everyone.

From here I took a trip to Lowe's lumber department and bought 6-1x12 pine boards at 4 feet each. You can purchase an 8 foot board if you want to save some money ($4 a board), but I'm all about the convenience of handling something shorter then me while also juggling a toddler, purse, and a blue cart. I also bought a 3x4 foot piece of wainscot hardboard paneling for the back.
This is how I cut them down...


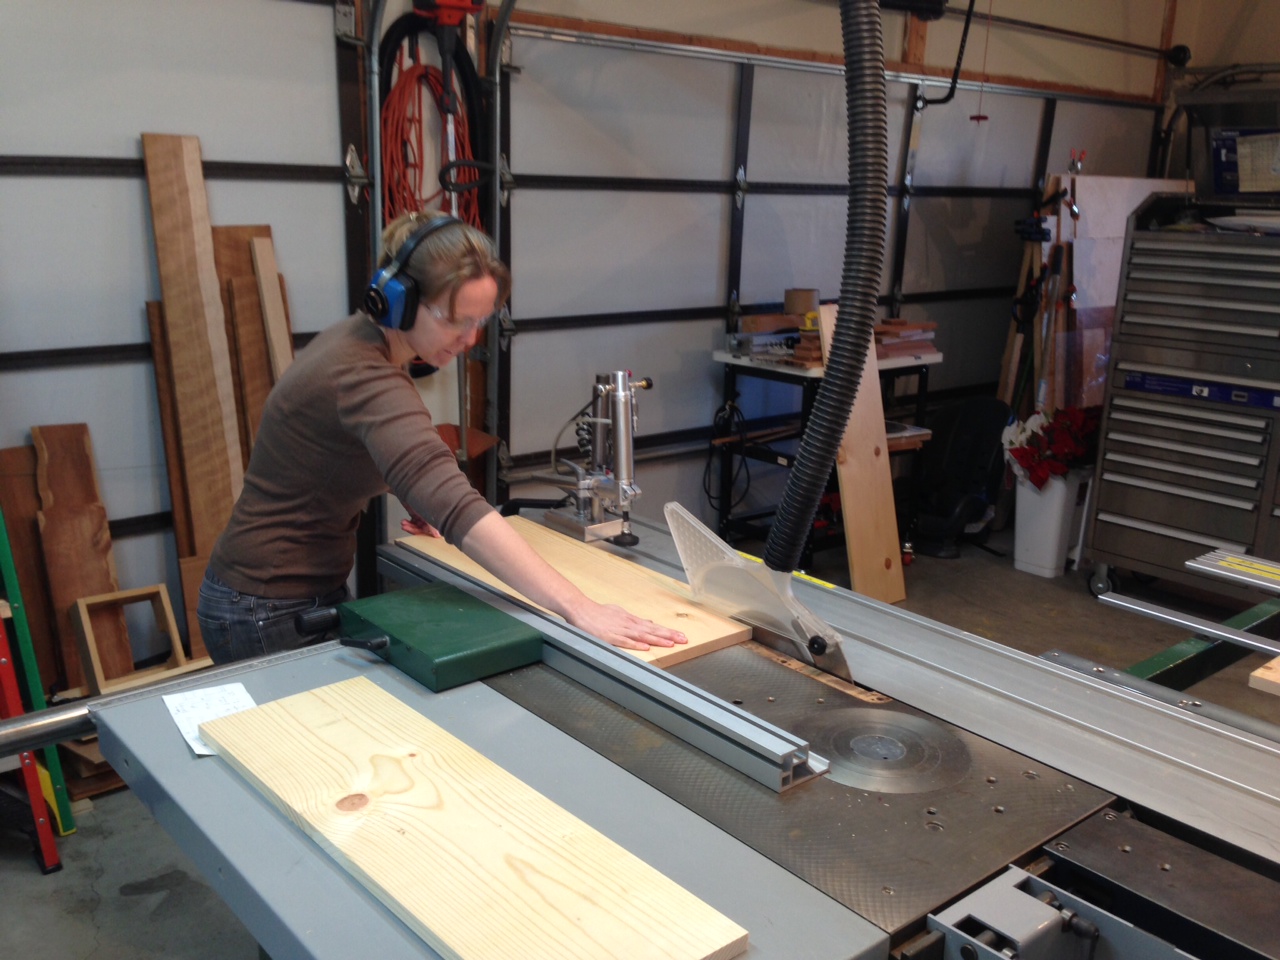


The top piece was cut to 9" wide and 46" long. I kept the top the length of the entire cabinet, because I wanted it to cover the top edges of the side panels.

Next I put some pocket screws in each each board to put them all together. This is a nice trick because the screw goes in at an angle and the head is hidden. They all got a quick sand with 220 grit and a 400 grit to take the roughness off. I was originally going to paint the whole thing white, but once they were sanded the wood was so pretty I couldn't bring myself to do it. I had a can of Mission Oak polyshade by Minwax in satin. It's great, because you slap a couple of coats on with a foam brush and it's stained and sealed at the same time! I did do a light sanding with fine steel wool in between coats so I didn't get bubbles. Make sure that you really wipe up the steel dust or you'll have a lot of debris in the final coat.


I put a little bead of wood glue on the edges that came together and screwed it all together.The panel was attached with finishing nails and then I attached the two Waddell 5-1/2-in Mixed Round Taper Traditional Wood Table Legs from Lowe's using two Waddell 3-in Table Leg Straight Top Plates for support. I was able to get away with only one coat of stain on the legs. They didn't seem to soak it up like the pin boards.


Breakdown:
6,1x12x4 white pine boards $38.34
1, 3x4 hardboard wainscot $10.00
2, 5-1/2" legs $4.96
2, 3" top plates $3.36
1 quart Mission Oak polyshade $12.87 (free for me)
You'll obviously need some nails, glue, and tools to put this together but for roughly $75 you can build a custom solid wood shelf that looks great and that you can feel proud of!


No comments:
Post a Comment